
The Slider Revolution plugin allows you to create an unlimited number of sliders and set them anywhere you want on the page within the necessary widget.
Check the following links for more information regarding the Slider Revolution functionality:
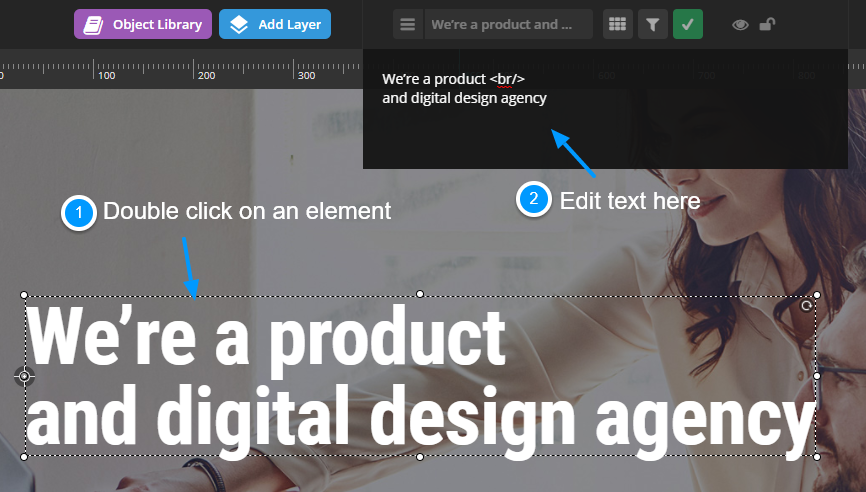
How to edit slider elements
In order to customize your slides, first go to Slider Revolution > Slider Revolution in your admin dashboard menu, and open one of the slides you want to edit.

Edit text of a particular slider element, by double clicking on it. Use <br/> tag to break the line.
How to change the background image of a
slide?
Open the required slide, and under the Main Background tab select the Main/Background Image from the Media Library.

Add Slider Revolution via Shortcodes
You can add sliders to your page using shortcodes in Visual Composer. You can either use the Revolution Slider shortcode, or select the Slider shortcode and choose slider engine – Slider Revolution.

Add Slider Revolution via Widgets
You can also add Slider Revolution via widgets:
- Navigate to Appearance > Widgets in the WordPress dashboard menu.
- Locate the Slider Revolution widget and drag and drop it to any of the available widget sets. Specify the necessary parameters and click “Save”. See the example below.

- Navigate to the page on which you want your slider to appear, and enable the necessary widget area on the Widgets tab. For example, let’s activate Slider in the “Header Widgets” section.

- Once it’s finished click “Update” and “Preview Changes” to see how it will look on the front-end.